How to Crochet a Slip Knot for Beginners - Tutorial Two
Learning how to crochet a slip knot can seem a little daunting at first for complete beginners but don’t worry, you don’t actually need to crochet anything just yet. It simply means how to get the yarn onto the hook.
In the last tutorial we learnt how to hold a crochet hook. You may not have decided on how to hold yours just yet and that’s ok.
This next tutorial won’t require you to hold your hook in a specific way. We’re simply going to go through how to get the yarn onto the hook and that’s it!
To see other tutorials in this series head to How to Crochet Step by Step.
What is a Slip Knot?
A slip knot, is the initial knot that we make to secure the yarn onto the hook before we begin crocheting. The yarn needs to begin from somewhere and this is that somewhere. You can see the completed slip knot in the photo above.
When is a Slip Knot Used?
Slip knots are mostly used for crochet patterns that are worked in rows. Every time you begin a pattern that is worked in rows you will need to crochet a slip knot to start with.
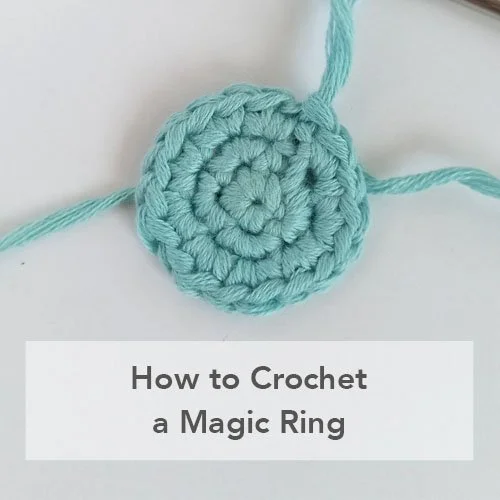
For crochet projects worked in rounds, it is better to crochet a magic ring instead.
How Secure is it?
The completed knot is really easy to work with. It can be moved around on the hook to where ever you feel more comfortable.
It can also be loosened or tightened very easily, to remove it from the hook or to secure it further if needed.
If you’re wondering if it will it ever come undone, then it is possible, however only in rare circumstances. Let’s say you decide to crochet a slip knot to begin a project that may experience pressure at the knot and the ends have also not been woven in enough, then it may unravel. Head to my blog post on how to weave in ends for more info.
A good example of this would be a purse with the slip knot and the seam in the base of the purse. You will most likely carry lots of change and put pressure on that seam. In cases like this, I wouldn’t crochet a purse with a seam along the bottom :) or be sure to weave in the ends super securely.
Having said that, I have been crocheting for a long time and never had anything unravel. Ok let’s get to it!
How to Crochet a Slip Knot
Watch the Video
It is always easier to show something like this in a video format so here is a quick YouTube video to show you how I do it. If you prefer to read through written instructions then scroll down passed the video to get to those.
Follow the Written Instructions
Start with the end of the yarn in your right hand and hold the working end in your left.
Swap the two sides over to the opposite hands whilst crossing the left side over the right so that you have a small loop. The end of the yarn should now be on your left side.
Put your index finger and thumb through the loop from the back.
Grab the left side of the yarn (the end) with those fingers, hold onto both ends with your left hand, pull your fingers back through the loop and pull to tighten. That’s it! You have a slip knot.
Now put your hook through the loop and pull the end to tighten.
To unfasten simply, remove the hook and pull the end to unloosen the knot.
How to Adjust the Slip Knot
Now, that we’ve crocheted the slip knot, how can we adjust it if it’s too tight or too loose? There are a few ways to crochet the slip knot and depending on which way you do it also makes a difference to how you adjust it. By following my tutorial/video, adjusting the yarn is super easy.
To loosen the knot you can just pull on the yarn end that leads to the ball of yarn. To tighten the knot again, simply pull on the cut end of yarn.


