Reusable Crochet Face Scrubbies Free Pattern
The following article may contain affiliate links. This means that if you make a purchase from these links, I may receive affiliate commission at no additional cost to you. I only recommend yarns which I believe are sustainable and suitable for the pattern.
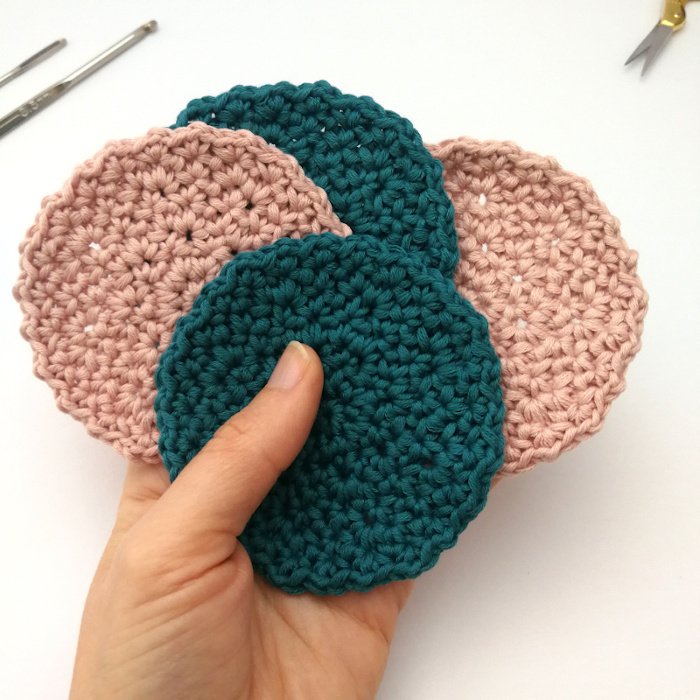
You’re probably here because you’re nearing your last disposable cotton facial round and want to make your own zero waste face scrubbies. Well I have the perfect free crochet pattern for you right here that I designed for myself. I love them so much I want to share them with you to help you make another super easy zero waste swap. See more of my useful crochet projects.
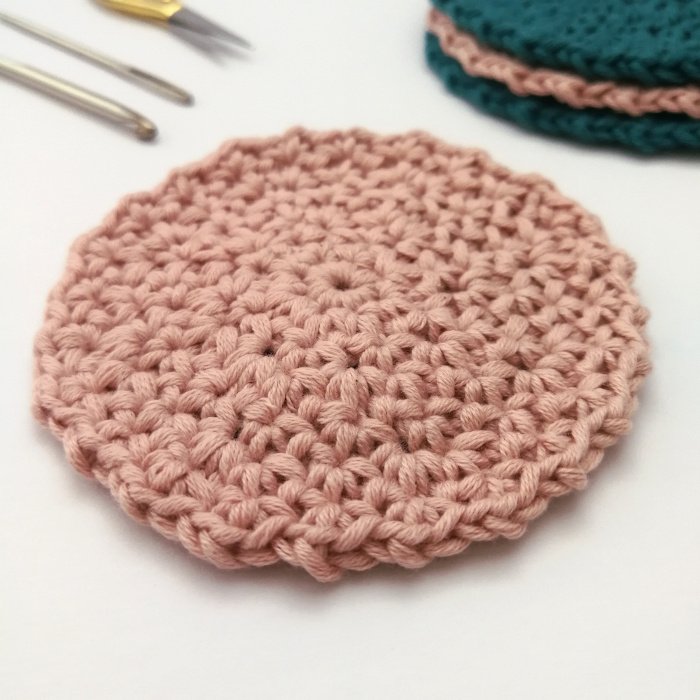
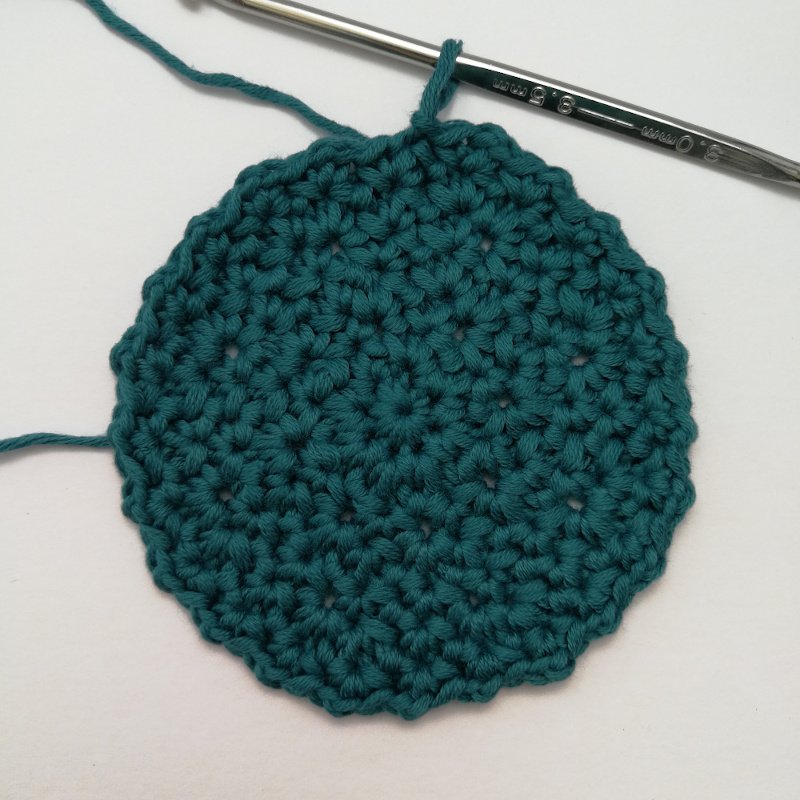
These are designed in a sport weight, super soft organic cotton yarn which makes for the perfect facial round for removing makeup or cleansing. The pattern is an even texture of stitches which means the scrubby glides easily over your skin, isn’t too abrasive and resembles a standard cotton facial round; perfect for gentle areas like the eyes.
The pattern is completely free on this page. However, if you would like to support my work you can buy the AD FREE, downloadable PDF with more photos in my shop.
You Can Also Buy This Pattern on
Skill Level: Easy - Intermediate
I have marked this pattern as easy to intermediate because it is mostly easy but without stitch markers, keeping track of specific stitches can be a bit tricky.
New to Crochet? Learn Step by Step
Find all the beginner crochet tutorials in my step by step guide.
What yarn to use
The sample shown above uses roughly 20 gram / 55 yards / 50 meters of Debbie Bliss Eco Baby to make four scrubbies. You can use any sport or light DK.
Other Yarn Suggestions
Here are some other options that I think would work really well.
LoveCrafts Schachenmayr Organic Cotton (100% Organic Cotton)
Knit Picks Simply Organic Cotton Sport (100% Organic Cotton)
Measurements
8.5cm diameter
What else you will need
Hook: 3mm - Metric | 11 - UK & Canada | C-2 - US | 5/0 - Japan
Scissors: For cutting the ends
Darning needle: To weave in the ends
Stitch Markers (optional): 15 stitch markers to keep track of specific stitches
Watch the Video Tutorial
Watch the video tutorial below or continue scrolling for the written instructions.
Abbreviations
(10) = Numbers in brackets at the end of rows, show how many stitches you should have at that point.
** = Repeat instructions between the asterisks as many times as it states after the x or until the end of the round.
Ch = Chain
St(s) = Stitch(es)
Ss = Slip Stitch
Yo = Yarn Over
Pt = Pull Through
prev. = Previous
Stitches Used
Mr = Magic Ring. See my blog post for a recap.
Sc = Single Crochet (U.K. - Double Crochet)
Spider Stitch = Sc, ch1, sc
Gauge
20 sc and 23 rows over 10cm (4”)
The ad free, downloadable PDF pattern with more helpful photos is available in the shop.
Pattern Notes
Stitch Markers: The optional stitch markers are used to keep track of the ch1s in the spider stitch. If you choose to mark the ch1s, be sure to use a different coloured stitch marker as your 'end of round’ marker so that you know when the round ends. The stitch marked with the ‘end of round’ marker is worked into at the end of each round. Once worked into, move the marker to the last ch1 of the round.
Tension: If your tension is tight, like mine, try to work the ch1s loosely. This will make it easier to work into them on the next round.
Ending Each Round: There is no join (slip stitch) at the end of each round.
The Pattern
Mr
Sc 8 into the mr. Join the two ends with ss. Mark the join with your end of round marker. (8)
Round 1: * Spider st into the first sc of mr. Mark the ch1 (optional) * repeat into each st. (8 ch1s)
Round 2: Spider st into each ch1 around. (8 ch1s)
Round 3: * Spider st into first sc of next spider. Spider into next ch1. Leave next sc unworked. * repeat til end (16 ch1s)
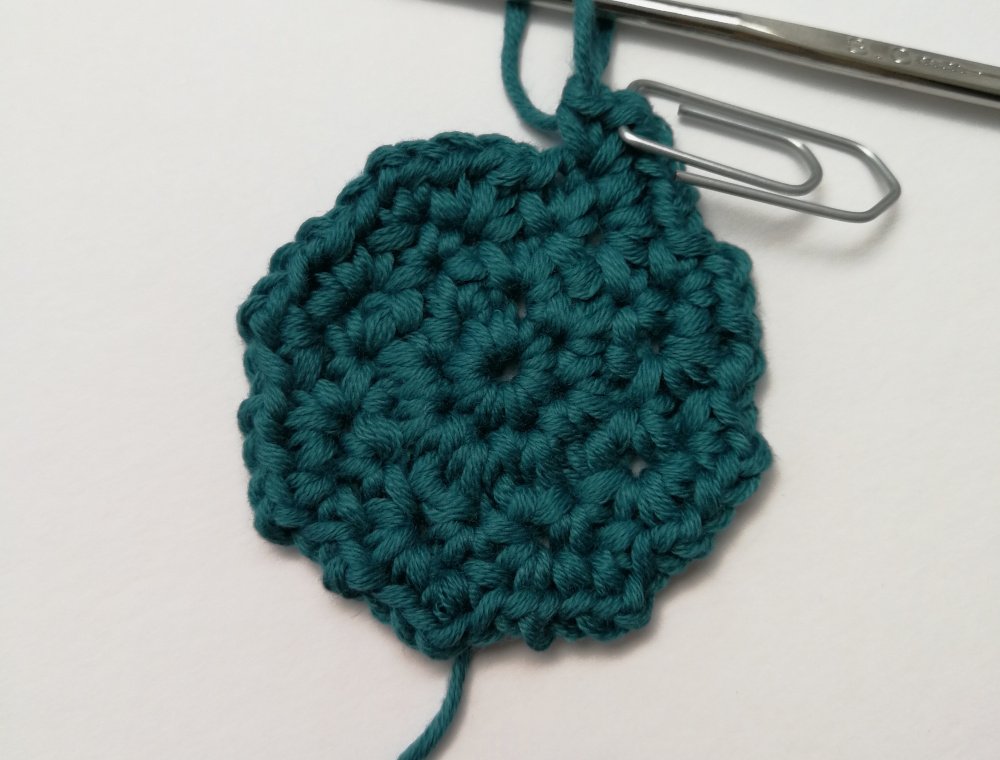
Here’s what you should have so far.
Round 4: Repeat row 2 (16 ch1s)
Round 5: Spider into first ch1. Spider into first sc of next spider. Spider into next ch1.
* Spider into next ch1. Spider into first sc of next spider, spider into ch1 * repeat until the end (24 ch1s)
Round 6: Repeat row 2 (24 ch1s)
Ss into next ch1.
Nearly finished
Invisible Finish
Cut your yarn and pull the loop up so that the end of the yarn is pulled through the st. Weave the end of the yarn under both loops of the next sc. Weave the end back through the centre of the last st from the top.
That’s it! Your face scrubby is nearly ready to use. You can give it a quick wash with gentle, natural soap before using it for the first time and remember to wash it again with gentle soap after every wash so that it’s ready to use for next time.

